Please create an assignment before moving on to this step.
To attach a file to a Canvas assignment, go to the course menu on the left and click Modules or Assignments.

Next, click the name of the assignment.

On the next page, click Edit.

In the assignment settings page, enter instructions in the textbox and then press the enter key to go to the next line. The next line will contain the file attachment.

Go to the toolbar.

In the toolbar, click the Document icon.
Note: If the Document icon does not appear in the toolbar, click the more button (three dot icon) found on the right.

When the menu appears, select Upload Document.

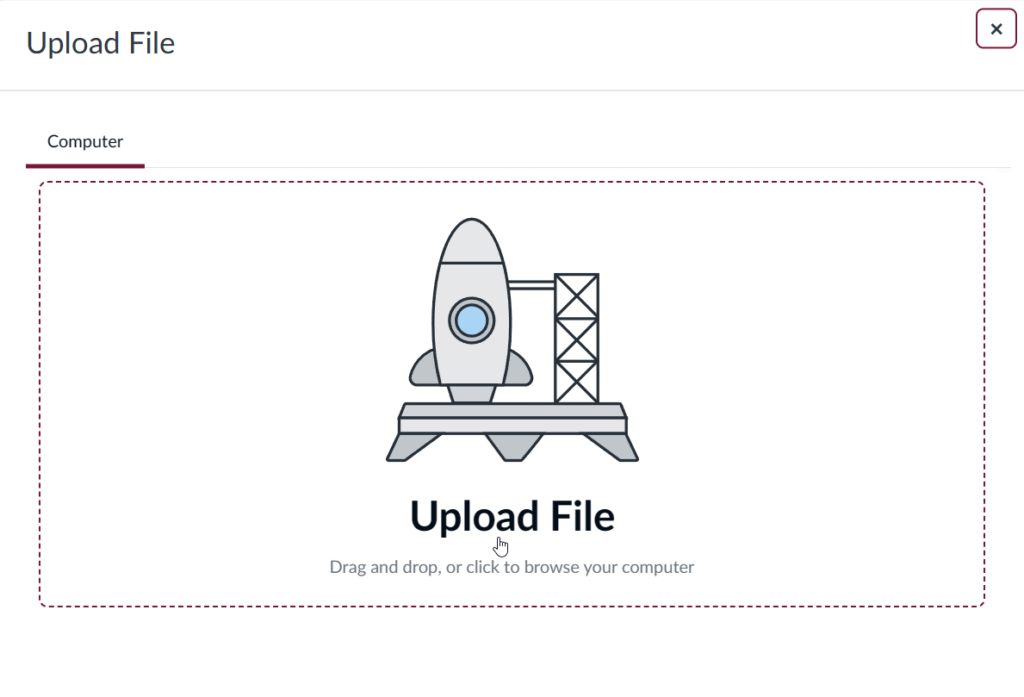
When the upload file window appears, drag and drop the file to the upload file area. Alternatively, click within the dotted rectangle to browse your computer for a file.

Verify that the attached file is correct. If the wrong file was uploaded, click the trash can icon found on the right.

After verifying the file, click Submit.

After clicking submit, the file name will display in the textbox with a Link Options button and Remove Link button. Click Link Options to see the available link settings (optional).
Note: If the Link Options button does not display, click the link containing the filename to display the Link Options button.

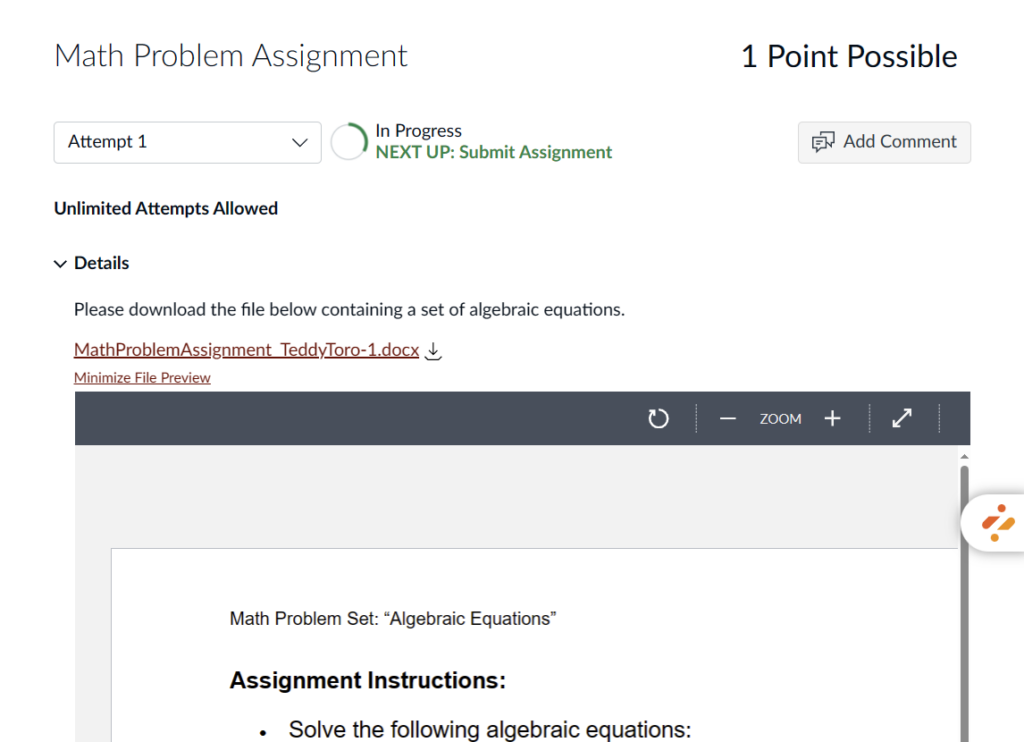
The link options panel presents the available file display options. Select preview inline so that the document displays a preview when the link is clicked (optional). Checking “expand preview by default” will automatically display the file preview window when the assignment is opened (optional).

To save any changes done under Link Options, click Done.

Click Save to save the attachment and any other changes to the assignment’s settings.
Note: If the assignment is ready for students view, click Save & Publish so it will also publish the assignment.

When you or your students open the assignment, click the link containing the file name to display the file preview. Alternatively, click the download button next to the file name to download the file.

